10 Fade-Blending Tips with Shears
Quick answer
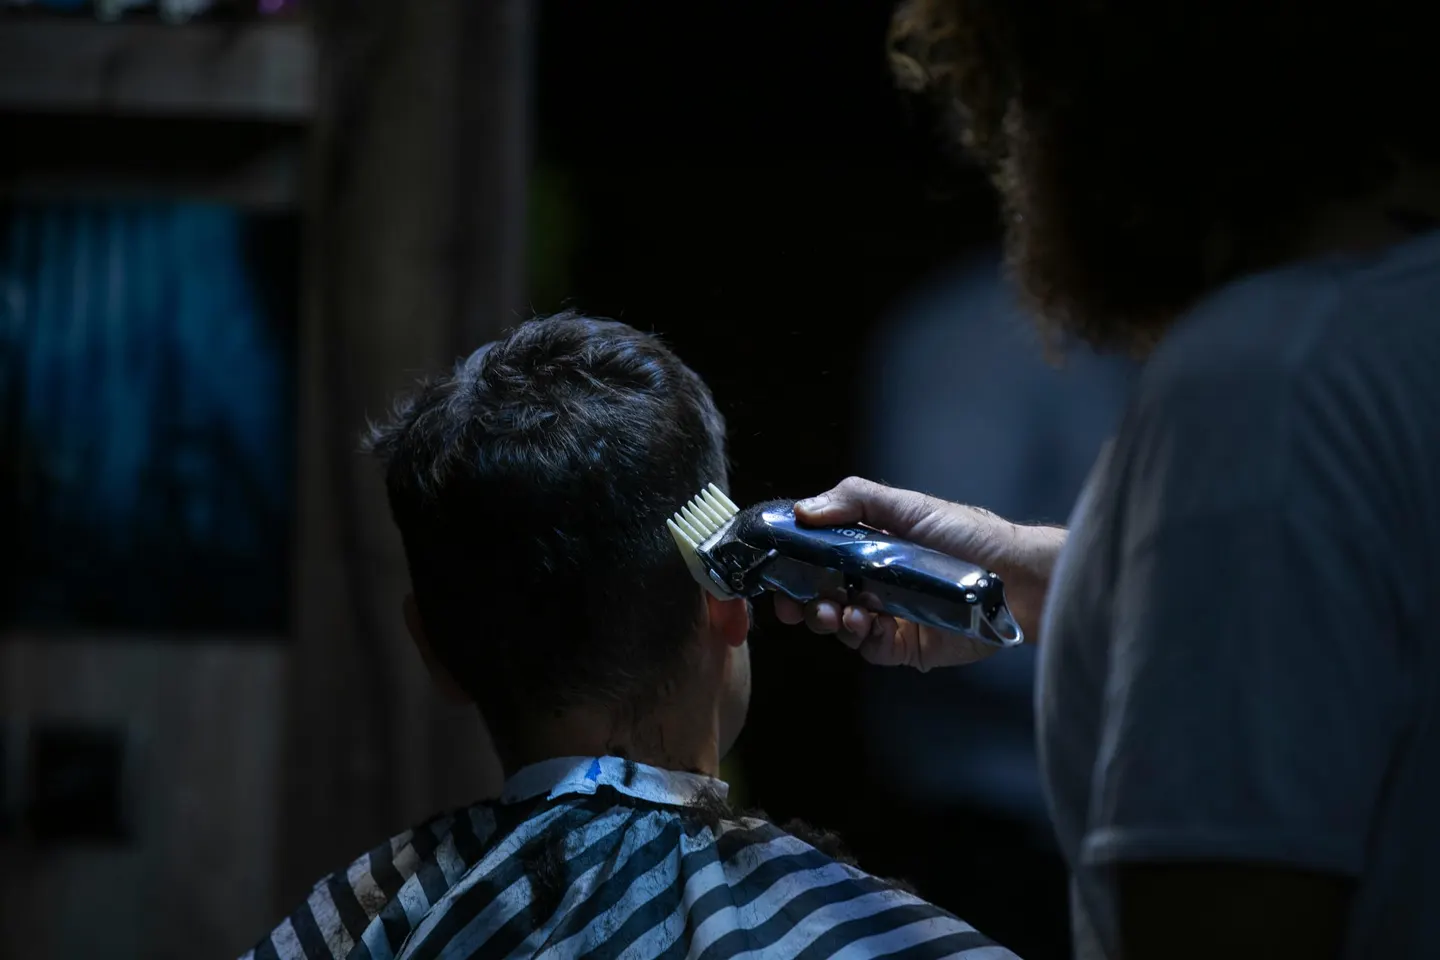
Let the clipper do the short sides and bring the shears in at the weight line. Find the line, work over the comb through the transition with a long blade, point cut the hard edge, then soften what is left with a thinner on light passes. Check the blend from the side, in good light, before you finish.
In a fade, the clipper makes the short sides and the shears make the join. This list is the join: ten habits for blending the top into the fade with scissors and a thinner. Each one is about technique and tool choice, not a brand.
How this list was chosen: every tip is a working principle that holds on any fade and any shear, in the same order you meet the problems in a cut. It follows the roles in our fade guide: clipper for the short sides, scissors for the top, the blend and the detail. Reviewed 4 November 2026. For model picks, see the fade scissors list.
Ten tips at a glance
Scroll sideways to compare all columns.
| # | Tip | Tool |
|---|---|---|
| 1 | Finish the clipper work first | Clippers |
| 2 | Find the weight line | Comb and eye |
| 3 | Lift at the transition | Comb |
| 4 | Use a long blade through the join | 6.5″ to 7.0″ cutter |
| 5 | Point cut the hard edge | Cutter |
| 6 | Blend the weight line | Thinner |
| 7 | Keep the chunker for bulk | Chunker |
| 8 | Make light passes, then check | Thinner or cutter |
| 9 | Check the blend from the side | Eye and comb |
| 10 | Put detail in last | 5.5″ to 6.0″ cutter |
1. Finish the clipper work first
Shears blend what the clipper left behind, so the sides need to be clean before you start. A patchy fade gives the scissors a job they cannot do, because scissor work softens a transition rather than repairing one.
Complete the clipper passes and look at the fade in full before you pick up the shear. That pause saves you from cutting into a join you have not finished.
2. Find the weight line
The weight line is where the faded sides meet the longer hair on top. It is the place where the eye sees a hard edge, and it is where scissor work earns its keep. Comb the top down and look for the shelf.
Find it before you cut. Working without knowing where the line sits is how a blend ends up too high or too low on the head.
3. Lift at the transition
Lift the hair at the transition with the comb, angled to follow the head, and cut what sits above the teeth. The comb decides how much length stays. Keep the angle steady along a pass; a changing angle changes the line.
The scissor-over-comb tips go through the method habit by habit.
4. Use a long blade through the join
A 6.5″ to 7.0″ cutter covers more of the comb on each pass, so the line through the transition stays even. Hold the blade parallel to the comb and cut in small strips with a small overlap.
Length is whole-shear length. The size guide shows both measures, and the long scissors list compares models.
5. Point cut the hard edge
Point cutting the ends of the weight line breaks up a hard edge where the fade meets the top. Use the tips of the blade in short, angled entries rather than a straight closing cut. The line softens because the ends sit at different lengths.
Go lightly. Point cutting removes length, and you can always cut a little more.
6. Blend the weight line with a thinner, not through the fade
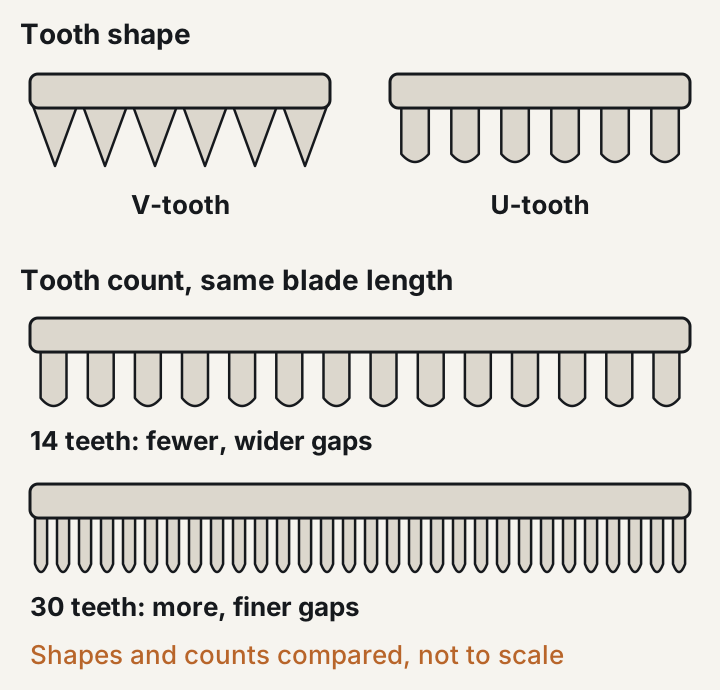
A 30-tooth blender softens a heavy line without changing the length much. Use it on the weight line, not through the faded area, where it has nothing to blend. The texturising guide explains tooth counts.
Tooth count is only one part of what a thinner does. Spacing and tooth shape matter too, so read the product page for the model you use.
7. Keep the chunker for bulk
A 10 to 16 tooth chunker removes bulk faster from a thick, heavy top. It is the wrong tool for a delicate transition, because it removes a lot per closure. If the top is heavy before you blend, deal with that first, then move to the blender.
The thinning shears list compares both kinds by tooth count and job.
8. Make light passes, then check
Thinners work on accumulation. Make one light pass, comb through, and look before you make another. It is easy to remove too much with a thinner and impossible to put it back.
The same rule holds for the main cutter. Build the blend in several small passes rather than one decisive cut.
9. Check the blend from the side
Stand back and look at the join from the side, in good light, with the hair combed in its finished direction. A blend that looks fine from above can show a shelf in profile. Check both sides of the head; a fade is rarely symmetrical when you start.
Dry the top if you cut it damp. Hair sits differently once it dries, and the final line is the dry one.
10. Put detail in last
Ears, sideburns and neckline come last, with a shorter cutter. A 5.5″ or 6.0″ puts the tip where you want it, and finishing the blend first stops you chasing detail that the blend would have changed. If your long pair already handles detail well, you do not need a second length.
See the short scissors list for models, and the cutting combs list for the comb that sets the line.
What would change this list
If your fades end at a skin line with a short top, you will use tips 1, 2 and 10 most, and a thinner may stay in the case. If your tops are long and thick, tips 3, 5 and 7 carry the weight. When the line will not soften, check the pair before the technique: a dull edge pushes and folds hair, and the blunt barber scissors tests show how to tell.
Pick by career stage
- Apprentice: tips 1, 2 and 9. See the fade finished, find the line and check from the side.
- Working barber: tips 3, 5 and 6. Over-comb through the join, point cut the edge, blend lightly.
- Upgrade: tips 4 and 7. A long blade and the right thinner for the top in front of you.
Browse thinning shears and 7-inch barber shears, or start from the complete buying guide.
The longer guides behind these tips are collected in the knowledge base.
Questions
Do you need thinning shears to blend a fade?
Not always. Point cutting the ends of the weight line and working over the comb can soften a transition on their own. A blender with around 30 teeth is a common extra when the line is still heavy. It is a finishing tool, not a replacement for the main cutter.
Where should a thinner be used in a fade?
On the weight line, where the faded sides meet the top. Do not run it through the faded area. A 10 to 16 tooth chunker is for taking bulk out of a thick top, not for softening the line.
What size scissors blend a fade best?
Use a 6.5″ or 7.0″ cutter for over-comb work through the transition and a 5.5″ or 6.0″ for detail at the ears and neckline. Length is whole-shear length, so check the size guide.
How do you stop a fade looking choppy at the join?
Take small strips, overlap each pass and check the line from the side. Choppiness usually means the strips were too big or the comb angle changed between passes.