First Professional Shear Kit Checklist
The minimum that covers real work, the gear that keeps it alive, and the habits that protect the investment.
By James Adams Updated
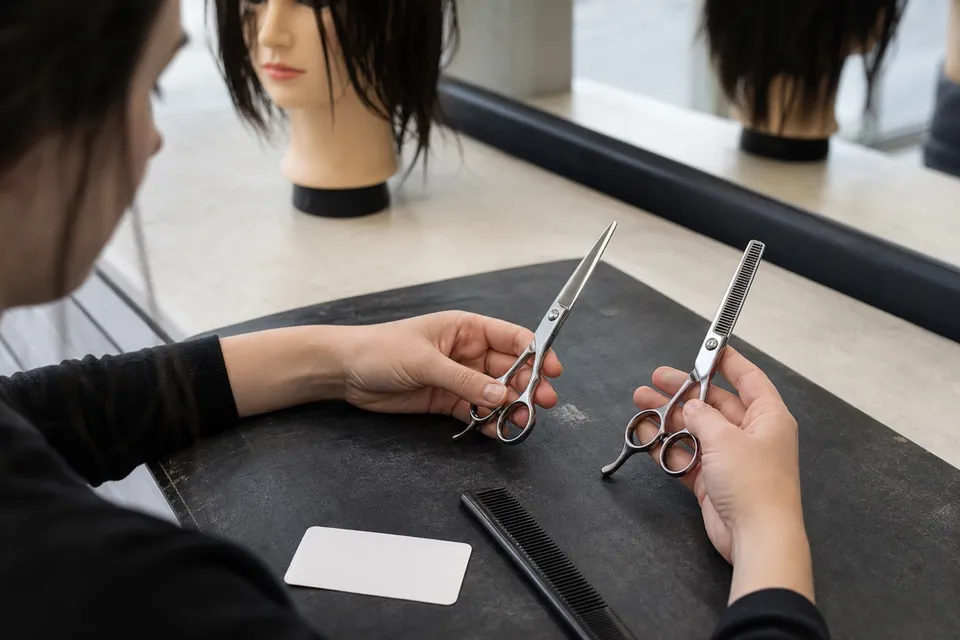
Your first kit needs to cover the work you actually do. Buy the cutter first, then add tools when a job keeps asking for them.
Start With One Cutter
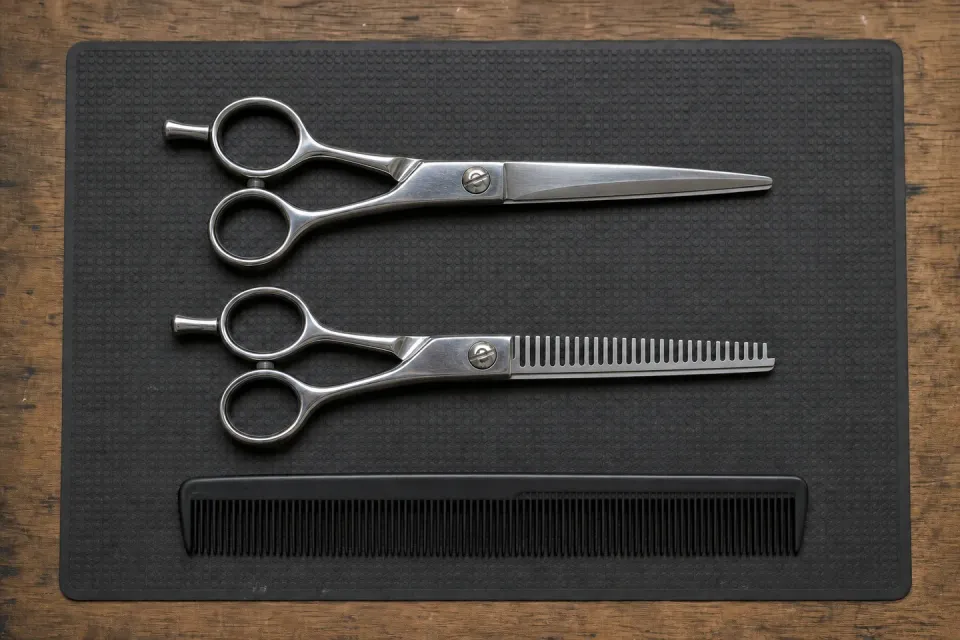
Choose the length you already handle well. A compact 5.5” shear gives close control; 6.0” is a useful middle length; a longer blade gives more reach over the comb. Compare the cutting shears by size and grip before comparing finish. The size guide helps if your current shear feels too short or too long.
Add The Second Job
A thinner is for measured weight removal, not for rescuing a poor base cut. A higher tooth count usually gives a more gradual pass; a lower count creates stronger separation. Read the texturising guide and choose the tooth profile your cuts need.
If you need both tools now, compare sets. Check the selected cutter length and the thinner included in each pair.
Keep The Kit Working
Carry the shears in a case or pouch rather than loose in a bag. Wipe hair and product from the blades after use, dry them, and follow the maker’s pivot-care instructions. Find a sharpener who services your edge type before either shear starts pulling.
A spare cutter can come later. So can the long over-comb blade, chunker or detail shear. Let your regular services tell you which addition earns a place.