Setting Up an Apprentice Barber Kit
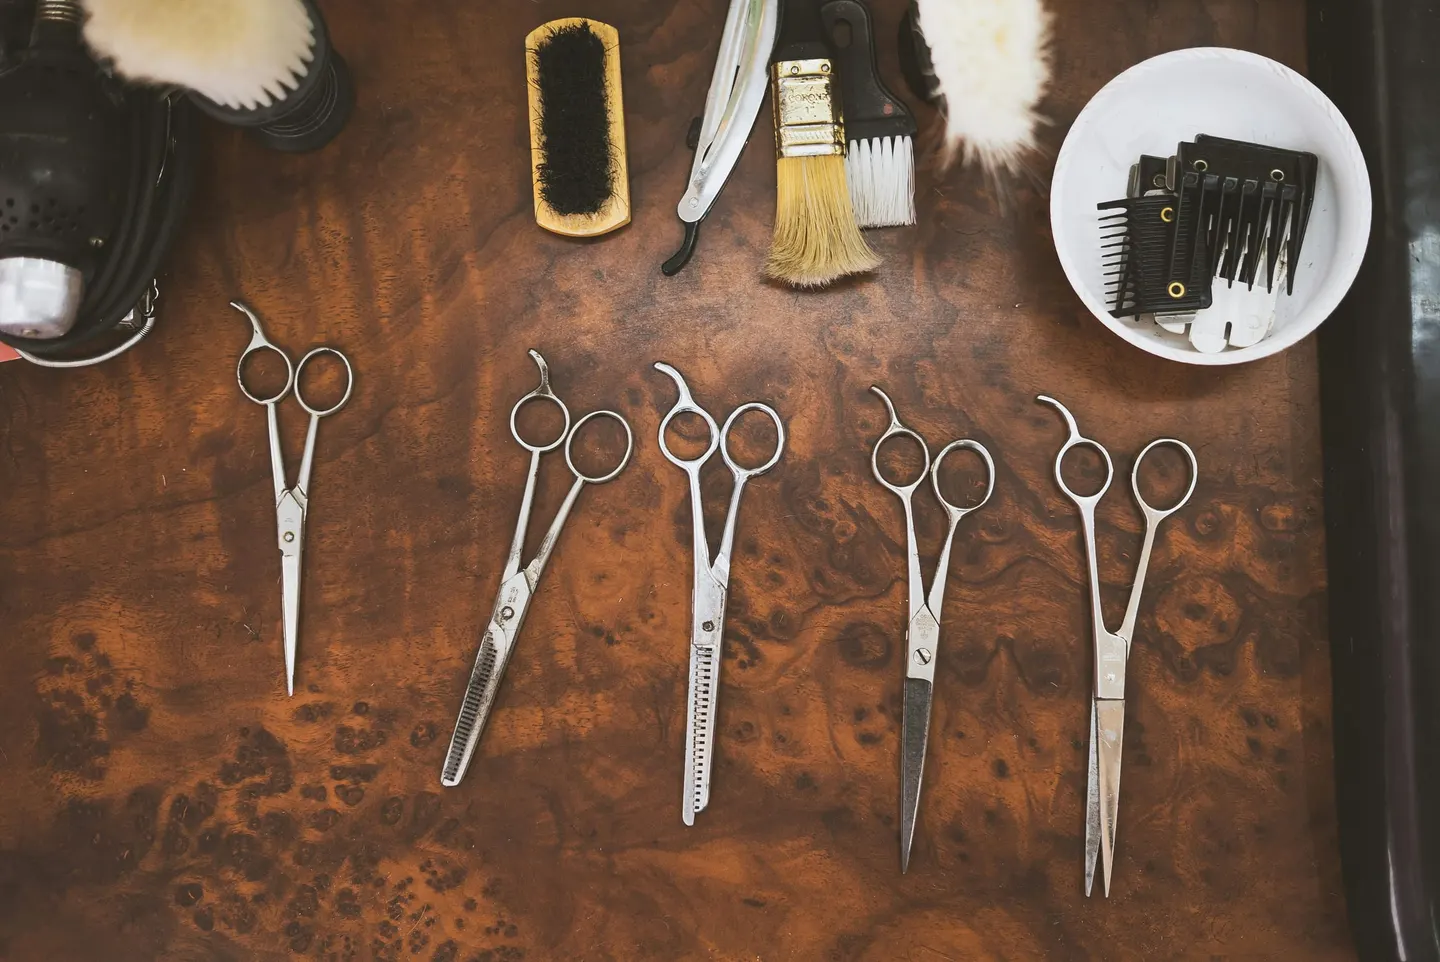
What to do in the first week with a new kit: check it, set it up, label it and build the habits that protect it.
Quick answer
When a new apprentice kit arrives, check each tool against the order, test the scissor's action and tension, oil the pivot, case the pair and label it. Then practise holding and cutting on a training head before a client. Ask your trainer which tools your course requires, and keep the packing slip.
Top picks
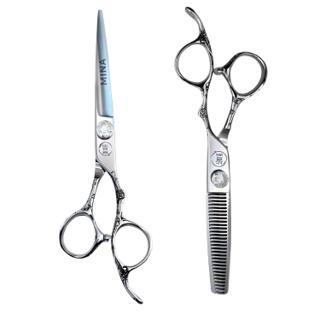
Cutter and thinner set
Mina Sakura II Professional Scissors Set
Cutter in five lengths plus a 6.0″ thinner
The first week with a new kit is when the habits form. Check the tools against the order, test the scissor, oil and case it, label everything, then practise on a training head. A tool that is checked and looked after from day one lasts the apprenticeship and leaves a record if anything is wrong.
Key takeaways
- Check the kit against the order on the day it arrives.
- Test action and tension, oil the pivot, case the pair.
- Practise on a training head before a client, and ask your trainer what the course requires.
Before the kit arrives
Ask your trainer or course which tools are required and which are optional. Courses and shops differ. Settle the hand: a left-handed apprentice needs a true left-handed pair, as in the left-handed guide.
If the kit is not bought yet, the first professional kit guide sets the buying order, and the apprentice picks compare first pairs.
Day one: check what arrived
- Match the contents to the order. Count tools, check the length and the hand.
- Look at the blades. Tips should meet, edges should be clean, and the finish should be even.
- Open and close the scissor. The travel should be smooth with no gritty feel.
- Test tension. Use the drop test from the maintenance guide.
- Check the screw. It should be firm, not loose.
- Keep the packing slip and the maker’s instructions in one place, so any claim has the order details to hand.
If a fault shows, contact support through the warranty page promptly. Do not cut with a faulty pair.
Set it up
- Oil the pivot. One drop, work it in, wipe off. Oil, tension and storage explains the amount.
- Adjust tension if needed. Small turns only.
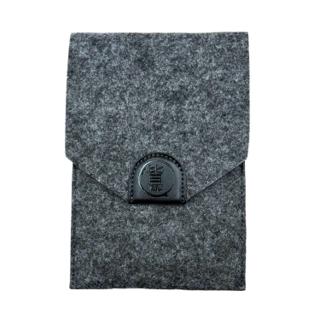
- Case the pair. Closed, dry, in its own pocket. See the cases guide.
- Label it. A name tag on the case helps in a shared training room.
Learn the grip before the cut
Hold the scissor with the thumb in the thumb ring, the ring finger in the finger ring and the little finger on the rest. Only the thumb moves. The holding scissors guide shows each step, and the handle guide explains why handle style matters.
Practise in order
Scroll sideways to compare all columns.
| Stage | What to practise | Where |
|---|---|---|
| 1 | Grip and thumb-only opening | Without hair |
| 2 | Comb handling and angle | Training head |
| 3 | Point cutting and straight cuts | Training head |
| 4 | Scissor over comb | Training head, then model |
| 5 | Blending with a thinner | After the cutter is steady |
Learn each at a pace where the line stays clean. The steps for the over-comb stage are in the scissor over comb guide.
Build a care habit
Wipe after every client. Dry, oil and case at close. Check tension weekly. The cleaning guide has the routine. An apprentice who does this daily will not need to rescue a neglected pair later.
The first month, week by week
A month is enough time to turn a new kit into a routine. Treat it as four short stages.
Week one: set up. Check the kit, oil, tension, case and label. Practise the grip without hair, ten minutes a day.
Week two: comb and cut on a training head. Learn to hold the comb and the scissor together. Cut straight bands and check them.
Week three: angles. Practise lifting the comb in small steps and cutting a ramp from short to longer. Begin the cross-check habit.
Week four: the whole routine. Do a full cut on a training head from start to finish, then clean, oil and case the scissor as you would at the end of a shift.
Ask your trainer to look at your grip and your comb angle at the end of each week. Short, specific feedback beats a long review at the end. The length guide will show you when a second length is worth adding.
Common mistakes
- Cutting before checking the scissor. Find faults before they reach a client.
- Buying a long scissor first. A 6.0″ does more for a learner. See the length guide.
- Skipping the case. Edges chip in a bag.
- Losing the receipt. Keep the order record.
- Copying habits from a different hand. Check handedness.
More on avoidable first-year errors is in apprentice shear mistakes.
Pick by stage
- First week: check, oil, case, label.
- First three months: practise, care daily.
- First upgrade: see the apprentice upgrade guide once the technique is steady.
The full index is in the knowledge base.
Further reading: Scissorpedia is an information website and a fellow member of the ShearAlliance.
Questions
What should an apprentice barber buy first?
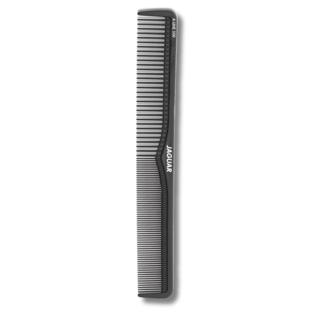
A 6.0″ cutter, a cutting comb, pivot oil and a case that closes. Add a thinner when blending starts. The first kit guide gives the order and what can wait.
Do I need the scissors my trainer uses?
Not necessarily. Ask your trainer or course which tools are required. Handle style and hand matter more than the same model, and a left-handed apprentice needs a true left-handed scissor.
How do I check a new scissor?
Open and close it a few times for smooth travel, check the tips meet, check tension with the drop test and make sure the screw is firm. If anything is off, use the returns and warranty pages straight away.
How should I practise before cutting clients?
Practise grip and the thumb-only action, then comb handling and scissor over comb, on a training head. Learn the routine slowly so the speed comes later.