Scissor Over Comb: Step-by-Step for Barbers
How to lift, cut and check a section, with the length, comb and mistakes that decide the result.
Quick answer
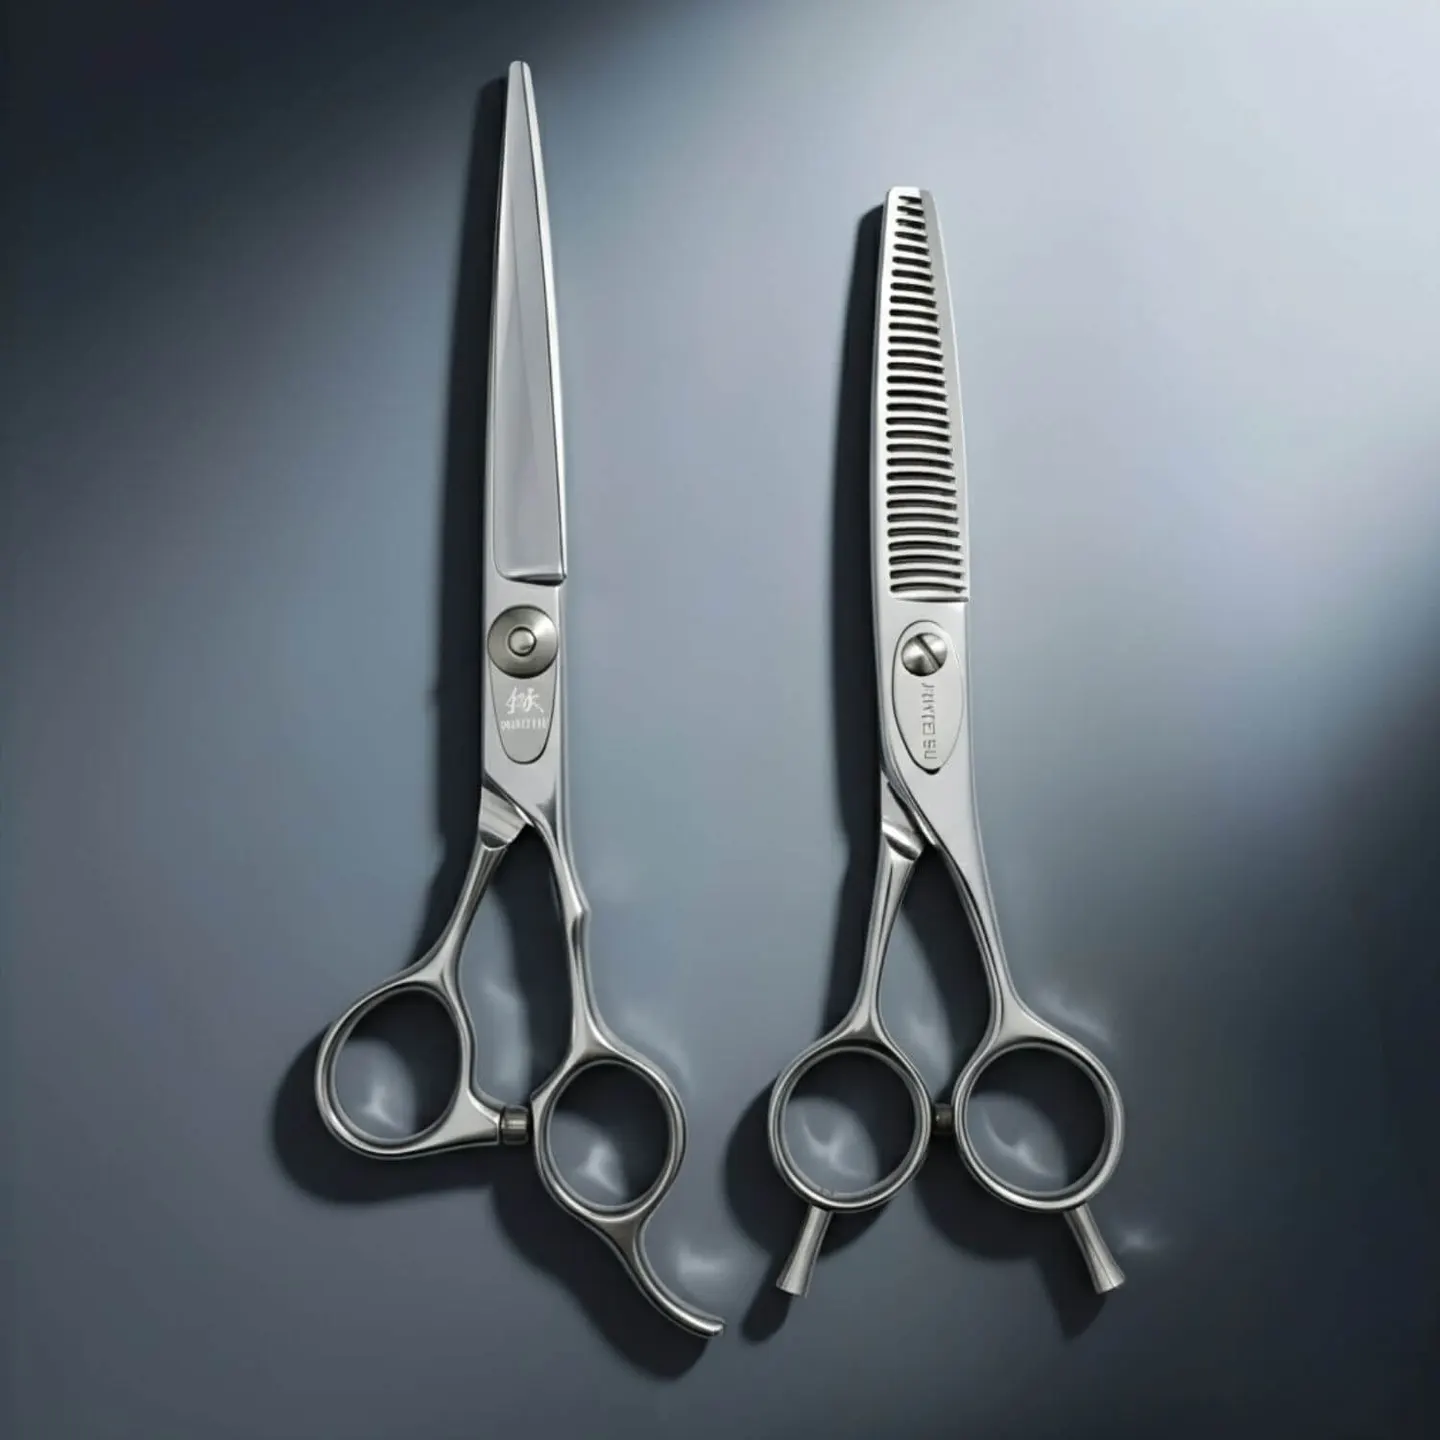
Scissor over comb means the comb lifts the hair and the scissor cuts what stands above the teeth. Set the comb flat to the head, keep the blade parallel to the comb back, move only the thumb, and cut as the comb travels up. Use a 6.5″ to 7.0″ blade for the body of the work.
Top picks
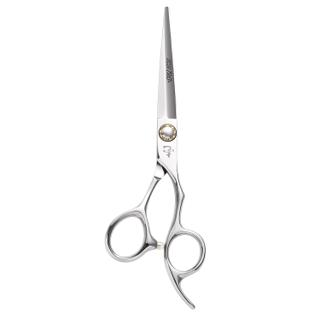
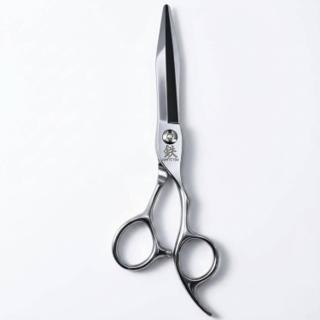
Scissor over comb is the comb lifting the hair and the scissor cutting whatever sits above the teeth. It does the job of a clipper guard with more control over the line, and it is how most barbers blend a fade into the top. Learn the seven steps below in order and the speed comes later.
Key takeaways
- The comb sets the length. The scissor only removes what stands above it.
- Blade parallel to the comb back, thumb moves, hand stays still.
- Cut in bands from the clipper work upward, then check the line from a second direction.
What scissor over comb does in a cut
Scissor over comb replaces a clipper guard where you want control over the shape. The clippers do the short sides. Over-comb carries that length up into the top without a visible step, as the fade guide lays out by job and length.
It suits hair that stands up when combed: short to medium length, straight to wavy. On very tight curl or very fine, flat hair the comb lifts less, so expect to rely more on other methods.
What you need before you start
Scroll sideways to compare all columns.
| Item | What to look for |
|---|---|
| Scissor | 6.5″ to 7.0″ overall for the main passes; sharp tips, steady tension |
| Detail scissor | 5.5″ or 6.0″ for ears and neckline |
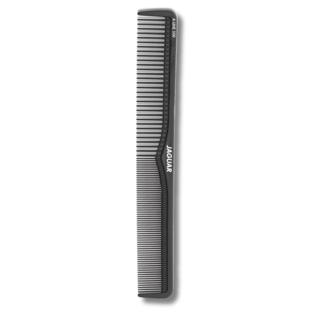
| Comb | Flat cutting comb, 7″ or longer, teeth intact |
| Light and mirror | Enough to see the line from the side |
The size guide explains how overall length is measured, and the long scissors for over-comb list compares models. Combs are covered in the cutting comb picks.
The seven steps
- Prepare the hair. Comb through so it lies the way you will cut it. Work on hair that is the same dampness throughout, because hair at different moisture levels springs back to different lengths.
- Find your starting line. Begin where the clipper work ends, at the lowest section you want to blend.
- Set the comb. Place the comb teeth flat against the head with the spine facing away. The hair that pokes through and above the teeth is what you will remove.
- Align the blade. Rest the scissor blade on top of the comb, parallel to its back. The lower blade stays still and rides along the comb.
- Cut as the comb moves. Open and close with the thumb only, and move the comb up and slightly outward in a steady rhythm: comb, snip, comb, snip. Do not stop the comb and chase the hair with the blade.
- Work upward in bands. Take each band in turn. As you rise, angle the comb a little further from the head so the length builds gradually into the top.
- Cross-check. Comb the hair in a different direction and look for steps or dark patches. Fix those with a few more passes, not a heavy cut.
Keep the hand quiet
Over-comb falls apart when the whole scissor moves. The thumb opens and closes the moving blade, and the other fingers hold position. The holding scissors guide covers the grip, including the hold for working over a comb. If you tire of the position, change your stance before you change your scissor.
Angle decides the blend
The comb angle to the head controls the result more than anything else. Flat to the head cuts the hair shortest. Lifting the comb away leaves it longer.
A smooth blend is a series of small angle changes, not one big one. If the line ends abruptly where the top begins, the usual cause is that the angle jumped instead of rising band by band. The fade blending guide shows how to soften what is left.
A practice routine that builds speed
Speed comes from clean repetition, not from rushing. Break the work into three short drills on a training head, and do each until the line stays even without thinking about it.
- The straight band. Take one horizontal band at the nape, comb flat to the head, and cut it level. Check from the side. Repeat until the band has no steps.
- The angle drill. Cut three bands, lifting the comb a little further from the head on each. The result should read as a smooth ramp, not three separate lengths.
- The cross-check drill. After each band, comb the hair the other way and look for patches. Fix them with one or two light passes.
Ten minutes of this before a shift does more than an hour of rushed passes on a client. Once the drills are steady, add the other hand’s work: moving the comb with the same rhythm while the scissor hand stays still.
Common mistakes
- Blade angled into the comb. The blade should lie parallel, not nose down into the teeth. Cutting into the comb nicks the blade edge and the teeth.
- Comb leaves the head too early. The hair above the teeth is too long, and the cut looks uneven.
- Racing the comb. Fast passes drag hair across the blade. Slow down until each cut is clean.
- Using one pass for everything. Light, repeated passes beat a single heavy one.
- Skipping the cross-check. A line that looks fine from the front can show steps from the side.
When the scissor is the problem
If hair folds or pushes off the comb instead of cutting, check the tension and clean the pivot first. If it still folds, the edge needs attention: see the blunt shears guide for the signs. Fine, slippery hair can benefit from a micro-serrated edge that grips; the edge guide compares the options. Maker guidance is available too, such as Joewell’s scissor-over-comb notes.
Pick by stage
- Apprentice: practise the seven steps on a training head with the scissor you already own before buying long.
- Working barber: a 7.0″ sword blade for the body, a 5.5″ or 6.0″ for detail. Shop the 7-inch range.
- Upgrade: step up the steel only if edge life or finish is the limit. The steel guide shows what changes.
More barber how-to and buying guides sit in the knowledge base.
Further reading: Scissorpedia is an information website and a fellow member of the ShearAlliance.
Questions
What is scissor over comb?
A cutting method where the comb lifts hair away from the head and the scissor trims whatever stands above the comb teeth. The comb sets the length and the line, so the work stays even without clippers.
What length scissor is best for scissor over comb?
A 6.5″ to 7.0″ overall length covers more comb per pass, which keeps the line even through the transition. Use a 5.5″ or 6.0″ for the small areas around the ears and neckline.
Why does my scissor-over-comb line look choppy?
Usually the blade is angled into the comb, the comb is leaving the head too early, or the hand is moving the whole scissor instead of only the thumb. Slow the comb down and keep the blade parallel to it.
Do I need a special comb?
A flat cutting comb with fine teeth at one end and wider teeth at the other suits most work. Pick the tooth spacing for the hair: fine for short, close work, wide for dense or longer hair.