Scissor-Over-Comb Drills: 5 Practice Exercises
A practice plan for the comb hand, the blade angle, the snip rhythm, the curve of the head and the repair pass.
Quick answer
Scissor-over-comb improves fastest when you drill one fault at a time on a training head: a comb-only run, a closed-blade glide, a counted snip rhythm, a curve drill and a repair pass. Give each a pass mark, move on only when you hit it, and keep clients for after the drills are steady.
Top picks
Reading about scissor over comb gets you the method. Drilling it gets you the hands. This page is the practice plan: five short exercises, each aimed at one fault, each with a pass mark so you know when to move on.
If you do not have the method yet, start with scissor over comb step by step and come back. The ten scissor-over-comb tips are the habits these drills build.
Key takeaways
- Drill one fault at a time. A wobbly line has one main cause, not five.
- Two of the five drills use no hair and no cutting.
- Move on at the pass mark, not at the end of the clock.
Why drill instead of just cutting?
A client’s head gives you one chance per line. A training head gives you as many as you want, and a drill removes everything except the movement you are fixing. Scissor over comb is two hands doing two jobs at once: the comb hand sets length and travels, and the scissor hand keeps a blade parallel and moves only the thumb. Each drill isolates one of those jobs.
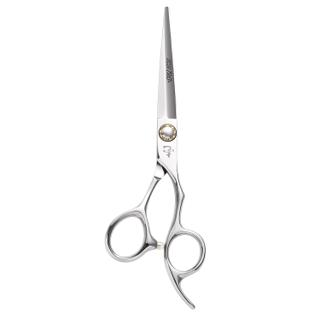
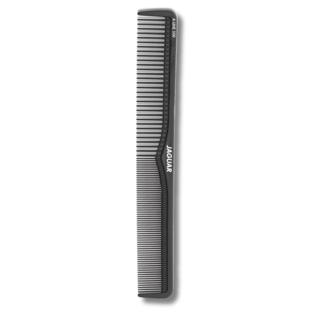
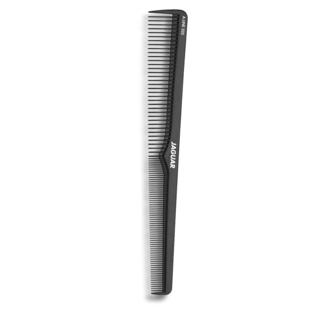
Use the pair of scissors and the comb you will cut with. A 6.5″ to 7.0″ cutter is the body of the work, and the comb should be at least as long as the blade. The size guide shows how overall length is measured, and the cutting comb picks compare combs by tooth spacing.
The five drills at a glance
Scroll sideways to compare all columns.
| # | Drill | Trains | Pass mark | Usual fail |
|---|---|---|---|---|
| 1 | Comb-only run | The comb hand | Same angle and speed from nape to crown | Comb speeds up near the top |
| 2 | Closed-blade glide | Blade parallel, still hand | Blade rides the comb back without touching the teeth | Tip dips into the teeth |
| 3 | Counted rhythm | Snip timing and overlap | One even band with no stripes | Snips bunch, then gap |
| 4 | Curve drill | Following the skull | No flat spot behind the ear or over the crown | Comb held flat on a round head |
| 5 | Repair pass | Fixing without over-cutting | A deliberate step gone in three light passes | One heavy pass that makes it worse |
Drill 1: the comb-only run
Hold the scissors closed in your scissor hand, comb in the other, and run the comb up the training head as you would for a real pass. No cutting. Watch three things: the angle of the comb to the head, how steady it is, and whether the speed stays the same.
Pass mark: the comb travels from the nape to the crown at one angle and one pace. Most people find the comb hand speeds up as it climbs. Fix that here, where nothing can go wrong.
Drill 2: the closed-blade glide
Now rest the still blade on the back of the comb, blades closed, and slide the pair along as the comb travels. Keep the blade parallel to the comb back. If you hear the tip tapping the teeth, the tip is dipping, and on hair that dip becomes a scoop or a nicked edge.
Pass mark: the blade rides the comb back for the full length of the comb without touching the teeth. Check your grip against the holding scissors guide if the hand will not stay still.
Drill 3: the counted rhythm
Add hair. Take one horizontal band at the nape, comb flat to the head, and cut it with a count: comb, snip, comb, snip. Say the count out loud. The comb should move the same distance between every snip, so each cut overlaps the last a little.
Pass mark: one band, level, with no stripes when you comb the hair the other way. Stripes mean the snips bunched and then gapped. Slow the count down rather than speeding it up.
Drill 4: the curve drill
A head is round, and the line has to follow it. Cut a band that crosses the curve behind the ear and another that crosses the crown, tilting the comb to follow the skull. A comb held straight against a curve cuts a flat spot where the head falls away.
Pass mark: run a fingertip across the band. There is no dip, ledge or flat patch. Then look from the side. A line that feels smooth and reads smooth is a pass.
Drill 5: the repair pass
Cut a deliberate step into a band, then remove it. This is the drill most people skip and the one that saves a real cut. A step is fixed by cutting a little less than you think, comb in a new direction, and repeating. One heavy pass makes a bigger hole.
Pass mark: the step is gone in three light passes or fewer. The fade blending guide shows the same logic applied to a transition.
How to run a practice session
- Warm up with drills 1 and 2. They take a couple of minutes and need no hair.
- Pick one hair drill, not three. Work the fault your last cut showed.
- Stop when the line wobbles. Practising a tired hand teaches the wobble.
- Cross-check every band. Comb the other way, look from the side, then move on.
- Use the pair you cut with. The right habits come with the right tool in your hand.
Maker guidance is available too, such as Joewell’s scissor-over-comb notes.
Common mistakes in practice
- Skipping the no-hair drills. They are where the comb hand is fixed.
- Racing. Speed arrives after the line is clean, not before.
- Changing scissors mid-practice. Each pair loads the hand differently.
- Practising on the first head only. Do the drill on a second head so you are not just remembering the first.
- Blaming the tool too early. If hair folds instead of cutting, clean the pivot and check tension, then read the blunt shears tests before you assume the edge.
Pick by stage
- Apprentice: drills 1 to 3 daily on the pair you already own. Buy long only after the line is steady. The apprentice kit setup shows what to carry.
- Working barber: drills 4 and 5, which are the two that show up on real heads. Shop the 7-inch range if your over-comb pair is short.
- Upgrade: drill with a longer blade and a second comb, and keep the old pair for detail.
More technique guides sit in the knowledge base.
Further reading: Scissorpedia is an information website and a fellow member of the ShearAlliance.
Questions
How often should I practise scissor over comb?
Short and regular beats long and rare. A few minutes on one drill before a shift builds more than one long session a week, because the skill is a repeated hand movement. Stop when the line starts to wobble.
Do I need a training head to practise?
It is the safest place to make mistakes. Use a head with hair long enough to comb up and stand proud of the teeth. Drills 1 and 2 need no hair at all and can be done anywhere you can sit.
Which scissors should I drill with?
The pair you will use on clients. A 6.5″ to 7.0″ cutter covers more comb per pass, and drilling with a different pair teaches your hand the wrong habits.
When am I ready to use it on a client?
When you pass drills 3 and 4 on two heads in a row without a step. Start on a low-risk part of the cut and keep the clippers within reach.