Fixing 6 Common Blending Mistakes with Shears
Six faults you can see in the mirror, what causes each one, and the repair that works.
Quick answer
Most blending mistakes show up as one of six faults: a shelf, stripes, a hole, a scoop, a lopsided side, or a blend that changes once the hair dries. Name the fault by what you see, find its cause, then repair it with light passes rather than a heavy cut. Removed hair cannot be put back.
Top picks
A blend is judged by what the eye cannot find. When it fails, the fault has a shape you can name from the mirror. This page is the repair guide: six faults, what causes each one and the fix that works, in the order you will see them.
For the full method of blending a fade, read how to blend a fade with shears. The ten fade-blending tips list the habits that prevent these faults. This page starts after something has gone wrong.
Key takeaways
- Name the fault by what you see before you pick up the scissors.
- Every repair is made of light passes. One heavy pass turns a small fault into a bigger one.
- Fix the clipper work first. Shears blend a clean fade, they do not rescue a patchy one.
What are the six blending mistakes?
Scroll sideways to compare all columns.
| # | What you see | Usual cause | First repair |
|---|---|---|---|
| 1 | The shelf: a hard step where the top meets the sides | Top cut straight down onto the clipper length, or the comb angle jumped | Rebuild the transition over the comb in small angle steps |
| 2 | Stripes: bands you can count | Comb moved in jumps, passes did not overlap | Slow the comb, overlap each pass, cross-check |
| 3 | The hole: a thin or gappy patch | Passes stacked in one spot, or a thinner used in the wrong place | Stop there and bring the surroundings down to match |
| 4 | The scoop: a dip where the head curves | Blade angled into the comb, or comb held flat on a round head | Re-comb following the curve and level the edges |
| 5 | The lopsided side: left and right do not match | Working one side from a favoured stance | Compare both sides at the same landmark and match the longer one down |
| 6 | The blend that changes once dry | Moisture differed across the section, or hair sprang back | Dry the section, then re-check and fix in light passes |
1. The shelf
A shelf is a visible step where the longer top sits on the faded sides. It happens when the top is cut straight down onto the clipper length with no bands between, or when the comb angle jumps from nearly flat to far out in one move.
Repair: go back to the lowest band of the transition and work up with scissor over comb, lifting the comb a little further from the head on each band. Then point cut the edge of the weight line to break up what is left. If the shelf sits in the clipper work itself, fix it with the clippers.
2. Stripes
Stripes are horizontal bands you can count when you comb the hair across them. The comb moved in jumps, or each pass failed to overlap the one below. The scissor hand was chasing the comb instead of cutting in step with it.
Repair: slow the comb until the snip and the comb move together, overlap each pass by a little and comb the section in the other direction after every band. The scissor-over-comb drills have a counted-rhythm exercise for exactly this fault.
3. The hole
A hole is a thin or gappy patch in the blend. It comes from stacking passes in one spot, from deep point cutting at the same place, or from running a thinner through the transition where it has nothing to blend.
Repair: stop cutting in that spot. Hair cannot be put back, so the fix is to bring the surroundings down to match, working outward from the patch in small light passes until it stops reading as a gap. If the hole is large, tell the client what you are doing and settle on the length that evens it out.
4. The scoop
A scoop is a dip where the line falls away, often behind the ear or over the crown. The head is round, and a comb held straight against it cuts a flat or hollowed spot. A blade that dips toward the scalp does the same.
Repair: re-comb the area following the curve of the skull, keep the blade parallel to the comb, and level the edges of the dip with light passes. Run a fingertip across the area and look from the side. The holding scissors guide covers the grip that keeps the blade steady.
5. The lopsided side
A fade is rarely symmetrical when you start, and a favoured stance makes one side better than the other. The left and right sides finish at slightly different heights.
Repair: compare both sides at the same landmark, such as the top of the ear, from the front and from the back. Match the longer side down in light passes rather than cutting the shorter side to chase it. Work the sides in an alternating order so neither gets all your attention.
6. The blend that changes once dry
The blend looks right damp and shows a step when it dries. Hair springs back to different lengths at different moisture levels, so a section that dried faster ends up reading shorter. Curly and wavy hair show it most.
Repair: dry the section, comb it in its finished direction and check again before you finish. Keep the moisture level the same across the section you are blending, and leave a little extra length on hair that springs up. The hair texture guide covers how each hair type behaves.
Check the tool before you blame the technique
If hair folds or pushes along the blade instead of cutting, the cause can be a dirty pivot, loose tension or a worn edge, and they look the same. Clean the pivot and check the tension first, then read the blunt shears tests to tell them apart. If the edge is the cause, a qualified professional sharpener should look at it.
What to keep within reach
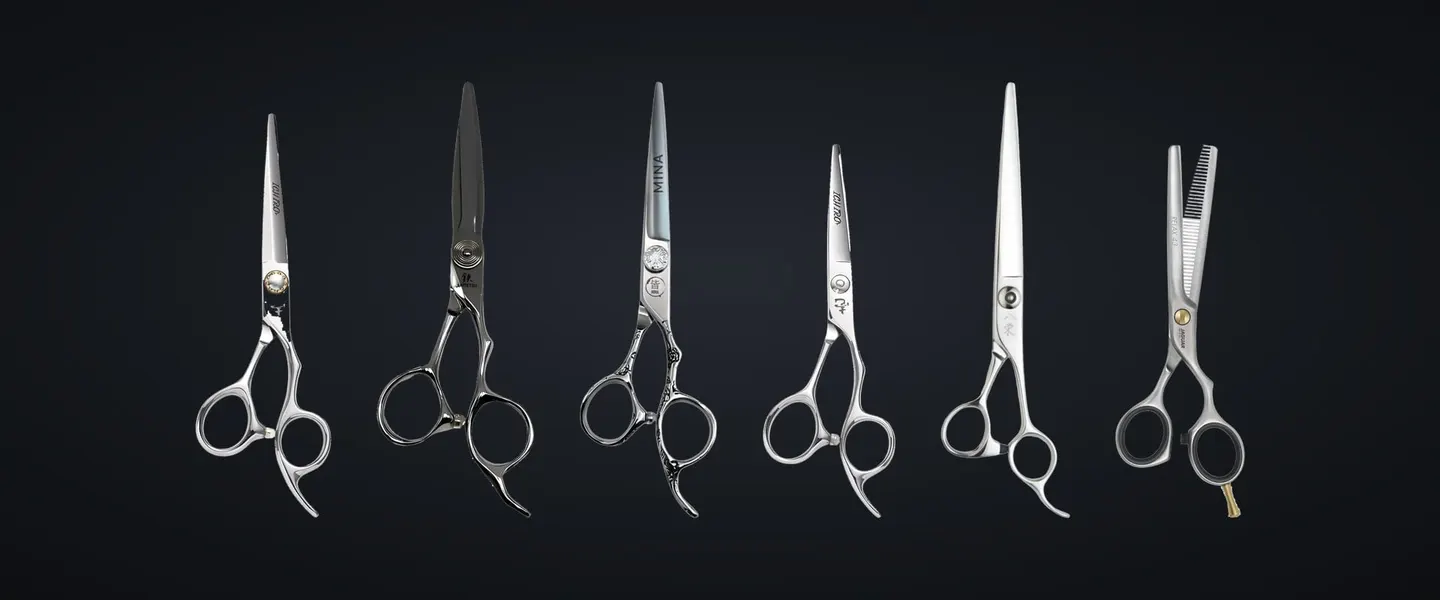
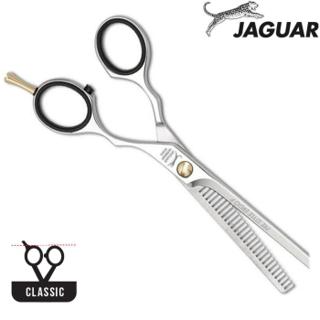
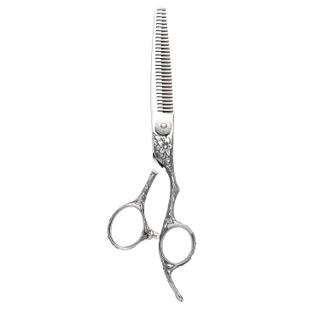
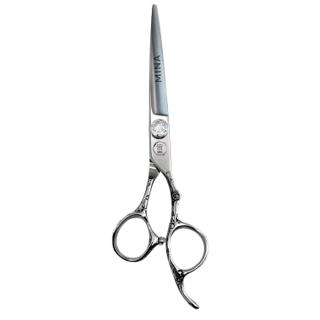
Repairs call for a cutter, a short detail pair and a fine blender. A 6.5″ to 7.0″ cutter covers over-comb repairs in fewer passes, a 5.5″ or 6.0″ pair reaches around the ear, and a blender with around 28 to 30 teeth finishes the weight line. The thinning shears versus blenders guide explains the vocabulary, and the blenders collection lists them by tooth count.
Pick by stage
- Apprentice: learn to recognise faults 1, 2 and 6 first. Practise the repair on a training head before a client.
- Working barber: fault 5 is the one that slips past you at the end of a long day. Build the two-side check into every cut.
- Upgrade: a longer cutter makes repairs cleaner. See the fade shears guide for lengths by job.
Every barber technique guide is indexed in the knowledge base.
Further reading: Scissorpedia is an information website and a fellow member of the ShearAlliance.
Questions
Why is there still a line after I blended the fade?
Usually a shelf: the top was cut straight down onto the clipper length, or the comb angle jumped between bands. Rebuild the transition with over-comb in small angle steps, then point cut the edge of the weight line.
How do I fix a hole or thin patch in a blend?
Stop cutting in that spot. Bring the hair around it down to match with light passes, working outward in small steps, so the patch stops reading as a gap. Hair cannot be put back, so the fix is to blend the surroundings.
Why did the blend look fine wet and uneven dry?
Hair springs back to different lengths at different moisture levels, and curly or wavy hair shows it most. Keep the moisture the same across the section you are blending, then dry and check before you finish.
Should I fix a bad blend with thinning shears?
Only on the weight line, in light passes. A thinner removes hair at every close, so on a hole or a shelf it makes the fault bigger. Fix the length with the cutter first and use the blender last.